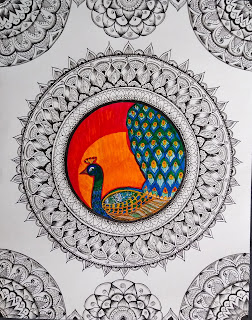
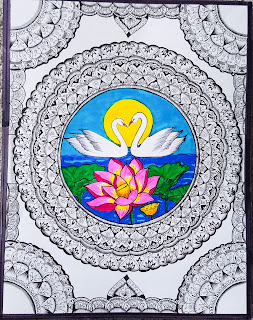
Zentangle art drawing,
Hello everyone,
Hope everyone doing great out there. What I was trying these days is drawing a person's image but it's not that easy it's a learning in progress. So I started to draw the back view of the girls and couples images. I use Instagram a lot so whenever I see any Zentangle or any kind of drawing if it's easy to try I will start to draw. In that list, I tried the girl's Zentangle art drawing. Here Image 1 is girls Zentangle this image reminds me of my sisters and my friends with who we spent a lot of time together.
 |
| 1.Girls Zentangle art drawing |
In image 2, I thought to draw a complete face but I don't want to spoil that drawing that will take hours to complete. Here I used very simple patterns.
 |
| 2.Girl Zentangle art Drawing |
My first Zentangle art drawing image 3 Dancing girls Zentangle drawing wants me to draw more like this. This one I gave as a gift to my friend.
 |
| 3.Dancing girl Zentangle |
So if you want to gift for your special ones on your own try the Zentangle art drawing with simple patterns. Every single minute you spend on that drawing is worth making your friends smile and think about how you did this for them. "Little efforts are always matters". So try harder in all the ways.
I wanted to share the idea of how to draw the Zentangle art drawing that is worth sharing with your friends and sisters. If you want to draw your back view drawing or with your friends or sisters take a photo of you or with them capturing back view then you can decide the dress that will be easy to draw. But for me, I felt drawing a skirt will be easy and if you are trying for the first time I suggest drawing a skirt will be easy.
Here I will show you how to draw. Always find one common workspace to start your drawing keep everything near you so that you don't have to get up for that while drawing.
Always start with pencils, use them to outline even if it is rough it's fine you can erase it later. For the pencil, outline look image 4.
 |
| 4.Pencil outline of girls back view and flowers at the bottom |
Pencil outline is done if you like the flowers at the bottom if you just want the girl's back view you can leave the flowers.
I just wanted to try how flowers will look in the Zentangle so I made the outline for the flowers also. |
| 5. Pen outline done. |
After the pencil outline is done start with hair just make fine lines. Use the micron to make perfect fine lines and I did a small flower crown. After doing hair start with the skirt for layers you can do then and there of how you like to draw. Here I completed two layers for pattern check image 5. I am using simple patterns so that they will be easy for you to try.
 |
| 6. Layer 3 and 4 completed. |
After completing four layers checked patterns and flower patterns for layers 5 and 6. For pattern details check image7. Used simple line and swirl patterns on layers 7, 8, and 9.
 |
| 7.Layer 5 and 6 completed |
 |
| 8. Layer 7,8 and 9 completed. |
One skirt pattern completed and for the next skirt check image 10 for patterns.
 |
| 13. Sketch outline for flowers |
 |
| 14. Coloring for blouse of girls done |
Now to color the flowers I used color pencils. Here red color is the majority color so I colored the flower with the red color(check image 15) by leaving the place for the yellow color to blend the colors. Check image 16 in that I gave yellow color and again I have shaded with red again to blend the color.
 |
15. Color pencil shading for flower
leaving space for the secondary color. |
 |
| 16. Blending of colors done |
So I did like this for all the red flowers(check image 17) and for the purple color flower also did the same. First, shade it with purple and leave some space for dark pink color and blend those colors.
 |
17.Color pencil shading done for
red flowers. |
For leaves, you can use a sketch or color pencil. You can color the flowers completely based on your choice. I used the micron pen to give the strokes and dots in flowers. The flower on the top is not planned while drawing my son came all of a sudden and showed his love so unfortunately, he scribbled so to hide that I made that flower and colored it with sketches. Drawing butterflies also optional it's based on your interest. You like to draw only a girl's image or try like this with flowers and butterflies it's fun to do. At last, give the pencil shades to the hairs and strips of the skirts. For the final outcome check image 18.
 |
| 18. Final image of our Zentangle art |
That's all you can do it trying is not a bad thing. If it didn't come perfectly today it will come next time perfectly if you keep trying.
Do try this Zentangle art drawing and share your experience and difficulties while trying so we can learn to overcome them in the future.
Thank you do smile and share your feedback.


Comments
Post a Comment