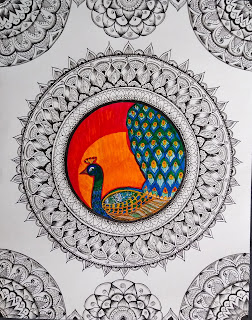
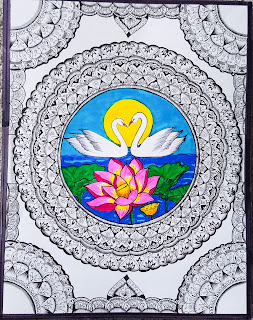
Simple DIY Dreamcatcher Idea
If you like dreamcatcher,
You can try this DIY dreamcatcher idea with following simple steps
1. All you need is a paper and pencil ready and you need to start it with circle if u have circle ruler then its awesome if you don't have then you can try with any other circular objects around you. Here I started with a round shaped bowl to form one circle and the other I did through hand and then I started drawing flowers from one corner. After this go with the strings and the feathers with the beads. First I did this with pencil once completed I went with micron to avoid mistakes. (so to avoid mistakes give a trial with pencil and then go for pen or sketch whichever you like).
2. Once I completed the outline I started the next step from flowers,
here I used Blue, Magenta, Green, Orange, Purple and Brown. I just gave colored lines to the flowers, you can also fill it completely with colors or just you can do it with Micron based on how you like. I like seeing colors in those Microns pen works.
3. Next step is to highlight the color for this I used black color sketch you can identify that in my drawing,
using dark outline will give special look to the colors.
4. Now its time for the circles imagine a thread circling around the ring. Here I gave little dark lines on the both of the circle, then started with lines. For every 10 or 12 lines make a small hump on both the sides. For this I used Micron black pen.
for the micron lines I used .25mm line pen and for the outline and beads I used .45mm line pen. Again I used black color pencil to give good finishing.
That's it Your DIY dream catcher is all done, if You like colors you can use or else go with black microns for whole image.


Comments
Post a Comment